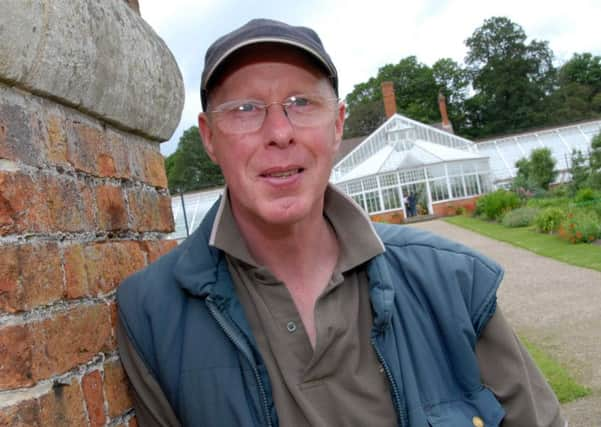
Clumber Gardener: No-dig gardening has been a big success


The results have been remarkable.
Compared to the same crops grown in beds which have been either hand-dug or rotovated, the no-dig vegetable plants have been more vigorous and yielded more.
The no-dig technique is finding favour amongst many vegetable gardeners.
Advertisement
Hide AdAdvertisement
Hide AdDigging can even be considered harmful to the soil, as beneficial organisms, such as earthworms, bacteria and fungi can be destroyed, soil structure may be damaged and weed seeds uncovered.
The no-dig technique involves spreading a layer of organic matter over the soil surface and allowing earthworms to take it down into the soil.
We have used our own home-made compost and mushroom compost, piled about 13 centimetres above the surrounding soil.
Beds can be edged with timber to retain the compos.
We have decided not to edge the larger beds as they are only around 1.2 metres wide and narrow enough not to have to tread on them.
Advertisement
Hide AdAdvertisement
Hide AdEverything – feeding, planting, sowing, watering, weeding and harvesting - can be done from the sides.
Plants in the bed are grown in blocks, rather than in rows.
This brings additional benefits, as once established, the crop will provide ground cover, which helps keep annual weeds in check, and covers bare soil from which moisture could be lost.
The most efficient spacing is to plant alternately rather than opposite each other in the block.
The other efficiency is that all effort and materials are devoted to the bed growing the crop.
Advertisement
Hide AdAdvertisement
Hide AdCrops are best rotated, so that the same crop isn’t grown in the same area of ground each year.
We use mushroom compost, but as it contains lime, it is best not used if you intend growing potatoes in that bed, as this could allow the scab disease to prosper.
The best rotation sequence is to grow peas and beans in year one, followed by brassicas, then onions, leeks and root crops in year three, potatoes in year four, then back to peas and beans.
February is often the coldest month of the year, so check that any frost protection is still in place.
Advertisement
Hide AdAdvertisement
Hide AdIf the soil isn’t waterlogged or frozen, continue preparing for new plantings by digging and adding organic matter such as manure, leaf mould or home-made compost.
Bare-root trees, fruit trees, ornamental shrubs and hedging plants can be planted into prepared ground.
It’s worth growing a few early potatoes such as Maris Bard or Duke of York to lift as ‘new’ potatoes in June.
Tubers are on sale now and are best ‘chitted’ to produce early crops.
Advertisement
Hide AdAdvertisement
Hide AdThis process involves placing them in seed trays in good light in a frost-free place to encourage tubers to produce short green shoots before they are planted out.
Provided the weather isn’t too frosty, begin pruning bush and tree forms of apples and pears, shrub, hybrid tea, floribunda and climbing roses.
Check stored tubers and corms, for signs of rotting.
And for some winter colour, consider planting shrubs such as viburnums, daphnes, Christmas box and winter honeysuckles.